Now that you’re a 1v1 Smash Master, ranked for Elite Smash and finished with your first local tournament (congratulations, by the way), you may think you’re ready to take on the world. But before you go boasting to your friends, you’ll want to be prepared to prove your skills.
Unfortunately for you, not every party is going to be patient enough for some round robin 1v1s, and you might find yourself in a 4-8 player Free for All. Items on. For all the marbles.
To avoid being killed by the Peckish Aristocrab three times in a row and publically embarrassing yourself (best if you don’t heatedly suggest in this moment that you could beat anyone in 1v1), it might help to familiarize yourself with the other side of Super Smash Bros Ultimate. You’ll want to know your Beastballs from your Hotheads, your Starman from your Snagret, and your Awakening Aether from your Killer Wail.
Follow these simple tips, and you’ll be on the way to being the de facto Smash Player you only think you are!
Free For All
There’s one rule in FFA that will take you further than any other: go for the winner. Whether you’re playing Stock or Time, the winner will be sitting pretty while everyone else scrapes for the closest moving target.
In Stock, make sure you have an eye on all players’ life counts, because the more players there are, the easier it is for someone to have three while everyone else is hanging on to one. The last thing you want is to end up in a 1v1 situation wherein the handicap is insurmountable. Don’t keep this information to yourself (unless you’re in the lead). Play the crowd: make sure everybody is focused on bringing down the current leader. Remember: there is no shame in hiding along the fringes of the battle, throwing ranged attacks into the mix. Cowardice is the casual’s name for strategy.
In Time, doing damage will give you no reward (just as securing kills won’t necessarily net you a Stock victory). Keep your damage percent low and prepare to snipe kills wherever they are to be found. Those heavy-weights you’ve avoided for the last three Smash games will be more than suited to an easy victory here, as they can secure kills not yet available to pitiable light-weights. Steal kills wherever you can (projectiles work great for this).
Taunt often. Dunk whenever possible. Make your opponents fear you.
Stage Hazards
While everybody loves Final Destination, Battlefield, and other flat, manageable stages, you might find yourself in one wherein the stage will be a greater foe than your friends. Knowing their cues will prevent you from looking like this guy:
That’s right: all three stocks were lost to Kalos Pokemon League’s relatively harmless hazards. FFA players will rarely fall victim to this safe stage, which means you’ll only look that much more like a fool (not pictured: the dragon stacking 40% damage from the background, and Registeel’s sword swirl doing the same).
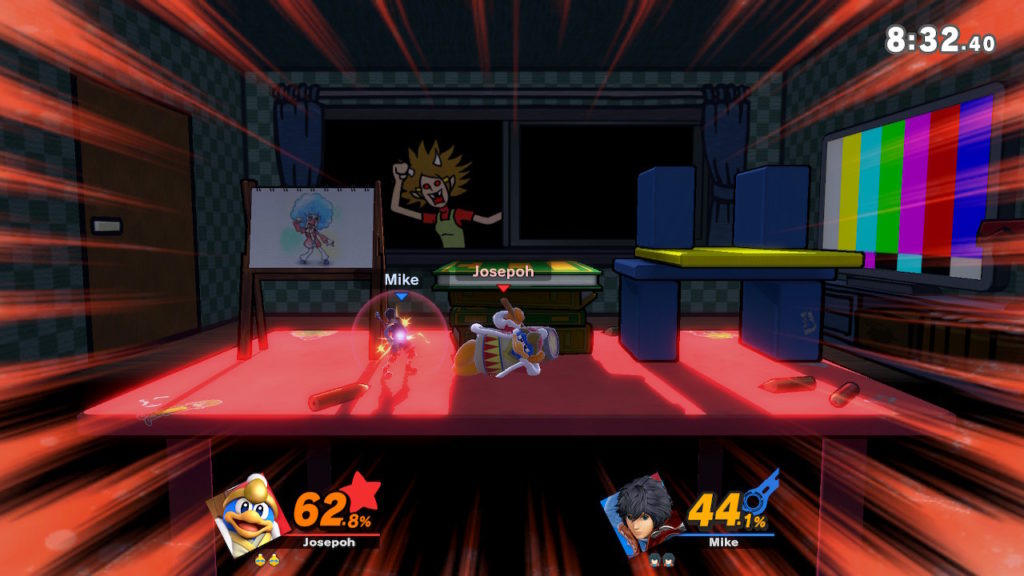
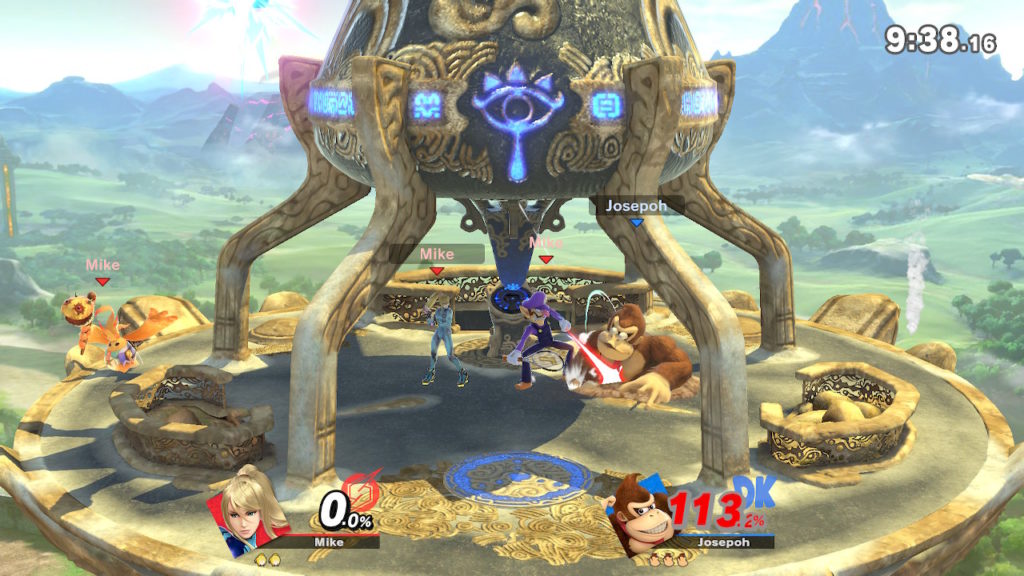
Garden of Hope is another stage that will come out of seemingly nowhere to end your victory lap. The Peckish Aristocrab announces his appearance with some bubbles, and if you’re too busy swagging on a casual, you might find the camera zoomed in on your own untimely demise. Watch for cues, learn hazards’ timing, entrances, and arcs, and you’ll even learn to use the stage against your opponent for extra flashy wins.
Gamer will hide a Mom in the background who is looking for Smashers up past their bedtime: if she spots you, you’re going to wish you didn’t have your Switch under the covers. Be prepared for the change in music, and make sure you’re hiding when she sweeps by.
Don’t touch the Tornados in Hyrule Castle when you have a 100% damage. Don’t let your opponent touch Magicant’s Birdman before you. Kill the Find Mii boss for a short-term boost to your stats. Don’t touch the ground in Mute City SNES, Big Blue, or Spirit Train. Never trust moving vehicles. Generally, stay away from anything sparkly and unfamiliar if you can avoid it.
Each hazard stage has its own tricks, but none of them are insurmountable. If you can dodge a Smash attack, you can dodge a falling sword.
Some Stages have Rules
For all the real Smash Bros you’ve trained yourself for, there are a couple stages that just won’t let you play the game you know. None of these will be picked on purpose, even by the most casual of players.
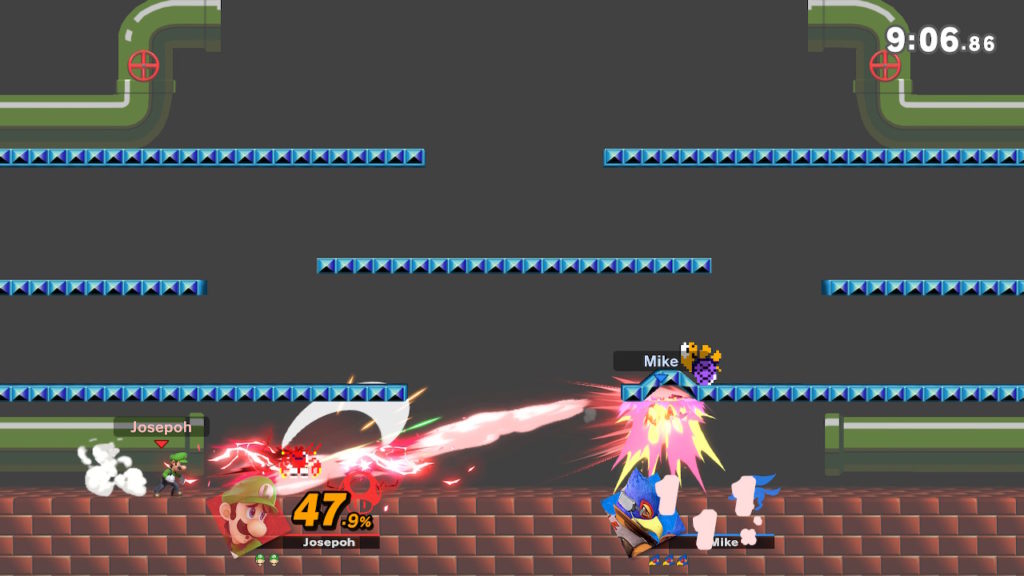
Mario Bros. lets you walk off one side of the screen and emerge from the next, features a respawning POW block, tiny corridors, and multitudinous crabs, turtles, and fireballs that will spark more lightning than a woolen blanket in dry weather. Crabs take two hits to turn over, and the enemies become more powerful and aggressive as they move through their colors. Forget about hitting anybody normally. Just chuck them until the stage is cleared.
The Great Cave Offensive is big enough to give 8 players kidney stones. Don’t shoot yourself off the edge with a cannon, and don’t touch the fire (it will delete you at 100%, and isn’t shy about helping get you there). Items will be hidden in chests, and carts will carry you across the stage until they eject you into spikes, so it’s best to avoid them.
Scrolling stages aren’t as quick as they have been historically, but that doesn’t mean they’re any more fun for you. Hang back to throw low-percentage foes off the edge, or stay forward to keep safe.
Press L+R+A+Plus should any of these be selected. Remember: cowardice is a strategy.
Also, when a ramp, slope, or wall enters to ring, be sure to use it: there’s no easier way to control a foe’s movement.
Items to Watch For
Don’t be like the pro players on the Nintendo World Championship showing of Smash 4 and leave Pokeballs on the ground. In fact, there are several key items you won’t want to sleep on.
(All of them. If you don’t want to use it, throw it off the stage. That said, the following are the real ones to be warry of:)
Pokeballs and Assist Trophies
Unless you enjoy being outnumbered, make a beeline for these the second you hear their entry jingle. Even if you just get a Goldeen, at least your opponent didn’t get a Keldeo. Fun fact: Pokemon can’t be killed. Assist Trophies can. Don’t forget.
S-Flag
If you want your opponent to get an extra life so that you can swag on them one more time per match, then by all means allow them to pick up the yellow flag when it spawns. However, if you don’t want them to restock, don’t let them sit pretty while holding up the S-Flag. If you want to use it for yourself, wait until everyone is busy, or until you’ve knocked them away at a high percent. It’s slow, but not as slow as you’d think.
Dragoon and Daybreak
Both of these supreme weapons come to the stage in pieces, and the last thing you want is for someone else to complete the set. A Dragoon will almost always kill you (especially now that repeat dodges have been nerfed), and while the Daybreak isn’t quite as powerful, it can still clear a screen. Pick the pieces up for yourself at any opportunity.
Home Run Club
This murder bat will absolutely break your shield in one hit, so don’t even try.
Fairy Bottle
This item only heals you if you’re over a 100%, so make sure it stays out of the hands of your foes. You can hold on to it, too, in case you ever meet that strict criteria.
Motion Sensor Bomb
Don’t walk into these, guys. They’re painfully obvious, and painfully effective if you’re not paying attention. Better to get ahold of one yourself, so that you can use it to control space and secure a full kill off a down-tilt. Pro Tip: you can hit your own bomb (interestingly, this no longer applies to the Smart Bomb).
Timer
Yes, this will let you swag on your opponents in ways you never thought possible. Meteor Smash at your leisure. Or let your opponent get it, and feel the pain.
Healing Field and Healing Sprout
If you hear the sound of your opponent enjoying these springs of well-being, stop them. They will heal a lot.
Smash Ball and Fake Smash Ball
Take a real gander at these two. One spells your quickened victory. The other, certain doom. Know which is which (you want the thick line to be vertical), and be prepared for the fake to get in your way when you don’t want it to. Also, if the two fall onto the ground, take extra care: they will rotate until it can be hard to tell them apart.
Rage Blaster and Staff
These brand new guns are a couple of the best additions to the game. The Rage Blaster absolutely chunks (think upwards of 30%) when you’re at high damage, while the Staff will obliterate distant opponents. Position yourself well, and take aim.
Assist Trophies (and How to Stop Them)
Not every assist trophy can be killed. You’ll want to keep track of who is worth taking down, and who is easier to keep your distance from. Some quick tips: Lyn is immobile, and it’s much easier to just kill her with a Smash Attack than to try and figure out the timing. Zero’s ranged attacks will go through walls. Phosphora is easiest to hit when she first appears. Starfy is an idiot and can be ignored. Keep moving and Dillon will have trouble hitting you. Circle the stage like it was Star Fox 64 to avoid Andross’s attack. Gray Fox reflects projectiles. Mother Brain’s attack can’t hit the whole stage. Stay away from Ashley.
And if Black Knight appears, just kill yourself and save him the trouble.
Final Smashes
Once someone has secured a Final Smash (maybe it was even you!), all hell is about to break loose. Better you’re not in the way, which means you’d better figure out who does what. Fortunately for you, the Final Smashes have been, by and large, completely normalized. You’re looking at 5 types: Short-range, Dashes, Long-Range, Screen Hitters, and the most useful catch-all, Other.
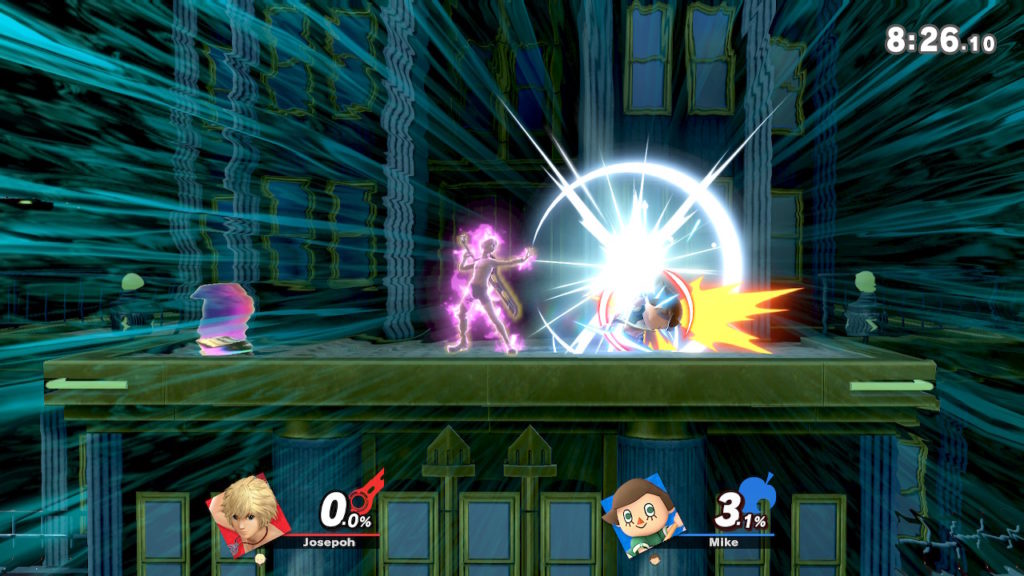
Short-range Final Smash attacks are those like Villager’s and Isabelle’s construction, DK and Little Max’s swinging uppercuts, and Fox’s Arwing. Most of them can be dodged easily with a one-and-done side-step. Corrin, Shulk, Captain Falcon, Falco, Wolf, Ike, Roy, Simon, Metaknight (who now hits all sides) and more feature an attack of this variation.
The Dashes can be dodged just as easily, but send the character flying across the screen. Beware: you can kill yourself by using these attacks when airborne. K Rool, Ridley, Cloud, Marth, Lucina, Pikachu (it’s changed since Brawl!), Pichu, Ganon, and more fall under this camp.
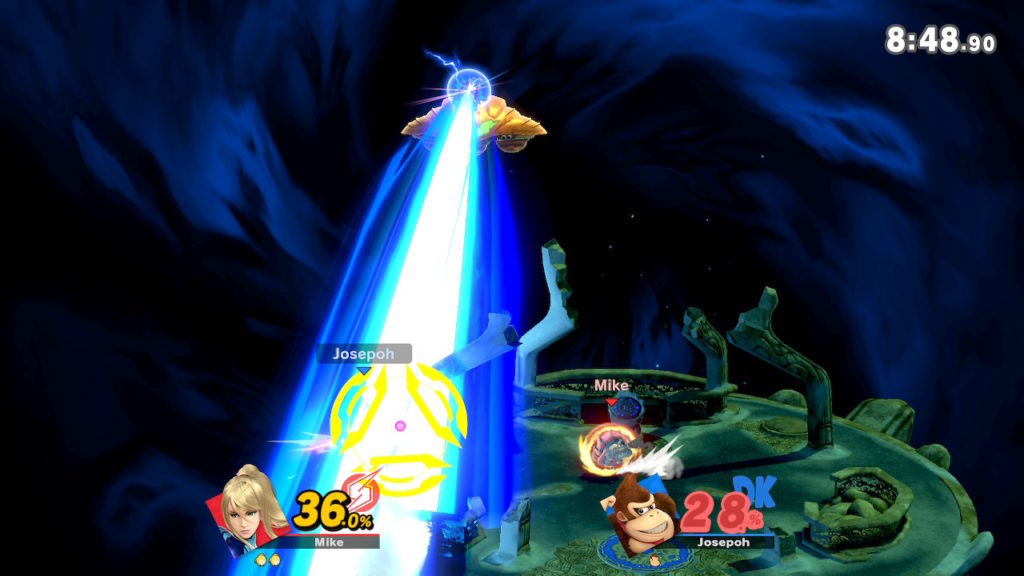
The Long-Range Final Smashes are harder to avoid, and easier to use. These can’t be dodged easily, and often let the user control their trajectory in one way or another. Inkling’s Killer Wail and Samus’s laser are perfect examples, but Lucario, Palutena, Ness, Lucas, Link, and a few others bear the same. (Watch out for Zelda’s: it appears to be short-range, but will suck you in from a fair distance. It will delete anyone at over 100% damage, as well.)
The “Screen Hitters” (dubbed by yours truly) (in fact, this entire classification system has been half-assedly created right now) are few, and they operate like Dragoons. Bowser and Zero Suit Samus both must target a point on the screen to attack. Bowser’s can be side-stepped, but ZSS’s lasts for more than a frame.
And that leaves us with Other: final smashes that don’t fit neatly into any of the others. Snake fires homing missiles that launch after he targets his foes. The Ice Climbers summon an Ice Berg through the stage (now with a murderous Polar Bear and Pteradactyl). Diddy Kong will fly madly around before targeting a specific point. Sonic will dash across the entire screen (it can be controlled, too). Peach and Daisy will put everyone to sleep (can work great when it takes people’s attention away from their own recovery) and provide healing items. Jigglypuff does effectively nothing, again, but faster than before. Bowser Jr. will leave a janky X that damages anyone who touches it (everyone will).
Pac-Man will secure 3-7 kills, and complete one of the game’s Challenges in the meantime.
Know what your characters’ Final Smashes do, because whiffing one is its own kind of embarrassment (only more so if it results in your death).
If you do miss, and this goes doubly so for Dragoons and Daybreaks, be sure to let your opponent know you didn’t want to use such a cheap tactic for victory.
And then continue being a coward.
The only way to save yourself from being knocked off your 1v1 pedestal in a FFA setting is to arm yourself with knowledge. Know the stages you’ve ignored, the items you’ve forgotten, and the fun you’ve missed. Learn how to catch items as they bounce off your opponents, and be prepared to dunk after a star rod launches your foe low. If it feels like these tools even the battlefield, it’s just because you’re not as good as you think you are.
Now get out there and wins some FFAs.